


Whether you’ve just picked up your first DSLR or upgraded from smartphone snapshots, one principle stands at the heart of great photography—the Exposure Triangle. If phrases like “aperture,” “shutter speed,” and “ISO” still sound a bit mysterious, you’re not alone. Many budding photographers start baffled by these terms, but understanding the Exposure Triangle will unlock practically every technical aspect of photography.
This guide walks you through the Exposure Triangle, breaking down what it is, why it matters, and how to prioritize these settings for flawless photos. We’ll explore the details behind aperture, shutter speed, and ISO, how to balance them for stunning results and provide practical exercises to cement your understanding. By the end, you’ll feel confident and ready to apply your knowledge, whether self-taught, enrolled in a photography course online, or even seeking reputable photography courses in Delhi.
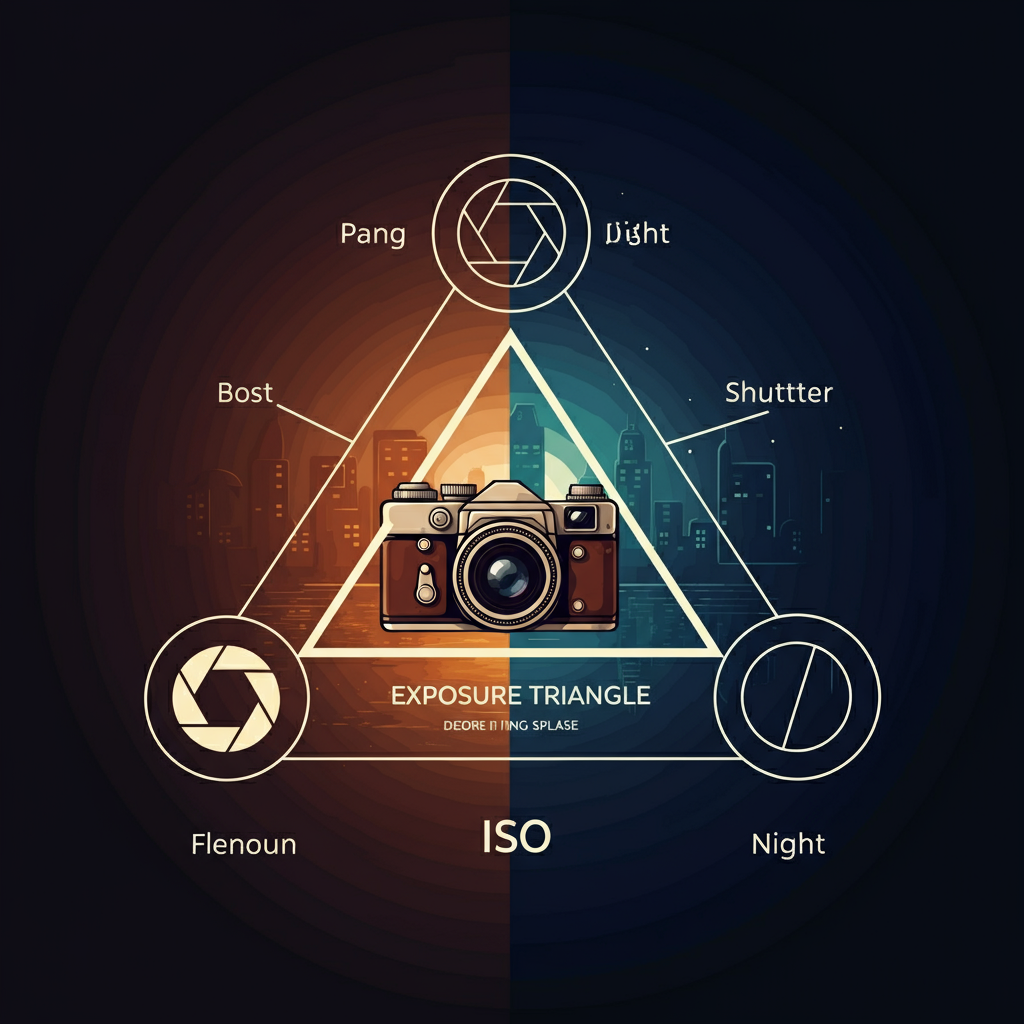
Why the Exposure Triangle is the Foundation of Photography
Before snapping award-winning shots or experimenting with advanced techniques, every photographer must grasp a fundamental truth: exposure is everything. Exposure simply refers to how light or dark your image turns out. The correct exposure preserves details in every part of your frame, from the brightest highlights to the deepest shadows.
The Exposure Triangle is named for the three essential camera settings that control exposure:
- Aperture
- Shutter Speed
- ISO
Each setting affects the amount of light hitting your camera’s sensor. Adjusting one usually means compensating with the others to maintain perfect balance. Mastering this relationship ensures your photos look natural, vibrant, and exactly as you envision them.
Many photography courses online and in-person workshops—even those run by leading educators in photography courses in Delhi—start by teaching this triangle. It’s where technical learning meets creative control.
Aperture Explained: How Your Lens Shapes Light
What is Aperture?
The aperture is the opening in your lens that allows light to travel into your camera. It’s measured in f-stops (like f/1.8, f/4, or f/16). Lower f-stop numbers mean a wider opening (more light), while higher numbers mean a narrower opening (less light).
How Does Aperture Affect Your Image?
1. Exposure
The wider the aperture (smaller f-number), the more light hits your sensor. This is ideal for low-light settings or when you want faster shutter speeds.
2. Depth of Field
Aperture is also crucial for controlling depth of field, or how much of your scene appears sharp versus blurry:
- Wide apertures (e.g., f/1.8): Produce a shallow depth of field, making backgrounds creamy and soft. Great for portraits.
- Narrow apertures (e.g., f/16): Increase depth of field, keeping everything from foreground to background in focus. Perfect for landscapes.
3. Sharpness and Image Quality
Every lens has a “sweet spot”—usually a few stops from its widest aperture. Shooting here can yield the sharpest results.
Practical Tips for Mastering Aperture
- Use wide apertures (f/1.8-f/2.8) for portrait photography to isolate your subject.
- Stop down to narrower apertures (f/8-f/16) for group photos or landscapes.
- Remember that very narrow apertures (like f/22) can sometimes cause diffraction and reduce sharpness.
Want practical demonstrations? A photography course online often provides visual examples and assignments to reinforce these principles. Many photography courses in Delhi include hands-on workshops in nature parks or bustling markets to practice aperture control.
Shutter Speed Decoded: Capturing Time
What is Shutter Speed?
Shutter speed is how long your camera’s sensor is exposed to light. It’s measured in fractions of a second (e.g., 1/1000s, 1/125s, or 1″) or full seconds for very long exposures.
How Does Shutter Speed Affect Your Image?
1. Exposure
A long shutter speed gives more time for light to hit the sensor, brightening the image. Short shutter speeds block the light more quickly, resulting in a darker shot.
2. Motion Blur
Shutter speed is your primary tool for freezing or emphasizing motion.
- Fast shutter speeds (1/500s and up): Freeze-moving subjects, perfect for wildlife or sports.
- Slow shutter speeds (under 1/60s): Blur movement, great for silky waterfalls or night traffic trails.
3. Handheld Stability
The slower your shutter, the more likely you will introduce blur from the camera shake. A popular rule of thumb is to keep your shutter speed faster than the reciprocal of your lens’s focal length (e.g., 1/50s for a 50mm lens).
Practical Tips for Shutter Speed
- Use a tripod for exposures slower than 1/60s to avoid shaking.
- Experiment with action photography at high speeds and long-exposure shots in low light.
- Don’t be afraid to play with an intentionally creative blur!
If you’re enrolled in a photography course online, you’ll find exercises to practice panning or long exposures. On-location shoots in photography courses in Delhi often challenge students to freeze dancers, animals, or the vibrant motion of street life.
ISO Uncovered: Finding the Right Sensitivity
What is ISO?
ISO measures your camera sensor’s sensitivity to light. Lower ISO values (e.g., 100 or 200) mean less sensitivity (cleaner images), while higher ISOs (e.g., 3200, 6400) make your sensor more sensitive but can introduce grain or “noise.”
How Does ISO Affect Your Image?
1. Exposure
Increasing ISO helps brighten photos in low-light conditions without requiring longer shutter speeds or wider apertures.
2. Image Quality
Higher ISO settings tend to create noisy or grainy images. While modern cameras handle noise better than earlier models, you’ll still see the best results with the lowest ISO possible.
Practical Tips for ISO Mastery
- Use base ISO (usually 100 or 200) for the cleanest image quality.
- Don’t be afraid to raise ISO in low light; balance with shutter and aperture.
- Know your camera’s limits; test which ISO levels still give you usable quality.
Photography courses online often provide downloadable ISO charts for self-testing at home. Students of photography courses in Delhi might experiment with ISO during night walks or dimly lit temples.
Balancing the Triangle for Perfect Exposure
Now that you understand each side of the Exposure Triangle, how do you use them together? Balancing aperture, shutter speed, and ISO allows you to achieve the correct brightness and creative effect.
The Balancing Act
Every photo is a compromise. If you widen your aperture for a dreamy portrait (more light), you may need a faster shutter speed or lower ISO for balance. If you shorten your shutter speed for crisp action shots, you might open your aperture or increase ISO to correct the exposure.
Tips to Help Balance the Triangle
- Set your creative priority: Do you want a shallow depth of field? Freeze or blur motion? Minimal noise?
- Adjust one variable first: Set your aperture, shutter, or ISO according to your creative goal.
- Compensate with the others: If you choose a wide aperture, be ready to use a shorter shutter speed or a lower ISO, and so on.
- Check your histogram: Use your camera’s histogram to avoid “clipping” highlights or shadows and ensure good exposure across the frame.
Many instructors from photography courses in Delhi use real-world scenarios to illustrate these balances. Online platforms often provide simulators so you can see exposure changes in real-time.
Common Exposure Scenarios
- Portraits in soft light: Wide aperture (f/2.8), moderate shutter speed (1/125s), low ISO (100–400).
- Action or sports outdoors: Narrower aperture (f/5.6), fast shutter (1/1000s and up), slightly higher ISO (400–800).
- Low-light cityscapes: Narrow aperture (f/11), long shutter (1–10 seconds, tripod recommended), low ISO if possible.
Practical Exercises to Cement Your Learning
Theory is essential, but getting hands-on is how you learn. Here are practical assignments adaptable for solo learning, a photography course online, or as part of photography courses in Delhi:
Exercise 1: The Aperture Series
Pick a stationary subject and shoot it using every aperture setting available on your lens. Keep ISO and shutter speed constant (as much as the light allows). Notice the changing background blur and note which settings suit your taste.
Exercise 2: Shutter Speed Freeze and Blur
Photograph a moving subject (pet, car, a friend) using different shutter speeds. Start fast to freeze motion, then slow down for intentional blur. Use a tripod if you go slow!
Exercise 3: ISO in the Dark
Shoot the same scene at night or in dim light, ramping up the ISO with each shot. Compare the images on a computer, noticing where noise appears.
Exercise 4: Full Triangle Control
Find a scene and shoot it three different ways:
- Prioritise aperture for depth of field.
- Prioritise shutter speed for motion.
- Prioritise ISO for low light.
Which version do you like best? What sacrifices were made in each? Reflecting on these changes builds your confidence as an adaptable photographer.
Mastering the Exposure Triangle for Stunning Photos
The Exposure Triangle is far more than a technical checklist; it’s the key to absolute creative control. When you learn how to adjust the aperture, shutter speed, and ISO with intention, you leave the “auto” settings behind and step into a world of boundless photographic possibilities.
If you want to deepen your understanding, consider a photography course online or explore photography courses in Delhi. Not only will you get targeted feedback and creative assignments, but you’ll also connect with a community of learners and mentors to keep your motivation high.
Whether capturing travel memories, documenting everyday life or working towards a career, mastering the Exposure Triangle sets a foundation for every shot you’ll take. Keep experimenting, never stop asking, “What if I try this?” and enjoy growing as a photographer.


